Sunday, 2 December 2012

Why Make Infill Planes

Well, I can go on with a long list of the pros and cons of infill planes versus wooden planes, but for me the main reason is stability. Yes, a well tuned wooden plane can be beautiful to use. For years I used even my not so great wood planes to produce some nice work. However, you can have your wooden smoothing plane tuned to take gossamer shavings on Monday, but when you pick it up again on Thursday it's not performing at all. This could be a little bit of an exaggeration but the bottom line is that not all planing operations are premeditated. So when I reach for a plane, I want it's performance to be consistent with the last time I used it.

Brass, Steel and Pau Rosa

First Infill Plane
When I moved to Australia, my wife and I rented a small house with a tiny, one car garage. Securing work in industry as a Cabinetmaker was not difficult, but as always I craved to do some more fine detailed work at home. While shopping one day I purchased a copy of British Woodworking Magazine, which had an article about plane maker Bill Carter. I was blown away by the quality of the infill planes he made in his tiny shed using only hand tools. After reading the article I thought that this could be the perfect challenge I was looking for. Working steel and brass was foreign to me but I also was aware that many infill plane makers, including Bill Carter, came from woodworking backgrounds. I had all of my hand tools from Canada so I only needed to purchase a drill press for accurate hole drilling.

The Prototype
I had an idea of making a set of small infill planes based on the low-slung planes that were popularized by James Krenov. I set to the task of drawing, then constructing, the prototype. Here is a picture of the rough materials and the finished plane.

Brass, Steel and Pau Rosa
Materials for Infill Plane
Low-slung smoother, 61/2" long, 11/2" iron, 50o pitch

The infill wood is Pau Rosa, purchased from a local turning shop. I was extremely happy with the comfort and the aesthetic and the best way to describe it's performance was "Rock Solid". The mass for such a small plane was impressive and, unlike my wooden planes, I could achieve a virtually non-existent mouth opening without constant clogging. After the prototype I made a few changes and started drawing and constructing a full set of planes, which are shown in the next photo. The Lie-Neilson block plane shows the scale of the set. The infill wood is Australian Gidgee.

steel, brass, Australian Gidgee, Lie-Neilson
Set of four, low-slung smoothing planes and a Lie-Nielson block plane
Many woodworkers today use machines for roughly forming the dimensions of their work, but still enjoy using hand tools for the more sensitive, detailed work. I find these small smoothing planes that I have made very useful and versatile. Any one of these planes can be used in one hand or two however, the two smaller sizes are better suited for this purpose. I do plan on making more traditional Norris and Speirs' type smoothers (they are beautiful). But, most traditional, small "bevel down" infill smoothing planes cannot be held comfortably in two hands for smoothing or one hand like a block plane, which I think is a true advantage of my current design. I will give more examples of this versatility in later blogs. In my next blog I will talk about the tiny coffin shape (squirrel tail) plane that you can view in the Gallery. It is basically my infill version of the Stanley #100.

Friday, 2 November 2012

Getting started

Where to start? Well I guess I should talk about why I started making planes. As an apprentice in Canada in 2003, our first project was a dovetailed foot stool that was constructed using only hand tools and I fell in love with working wood in this manner. My instructor was using a wooden plane that he had made. I was struck by how beautifully it worked and how he had customized the shape to fit his hands. He was very generous and offered to help me make my first plane. Here is a picture.

Rock maple and rosewood

This is basically a copy of his plane, except I carved a horn in the front of mine. The scrolled wedge was his design. This plane was made using Rock Maple and Rosewood.

From here I continued to make and use wooden planes. Here is a picture of my next two planes. A 19 inch Try plane and an 8 inch Smoother with custom adjustment hammer. These planes were constructed using Beech and Wenge. As my skills increased I could incorporate the sliding dovetail sole.

beech wood and wenge

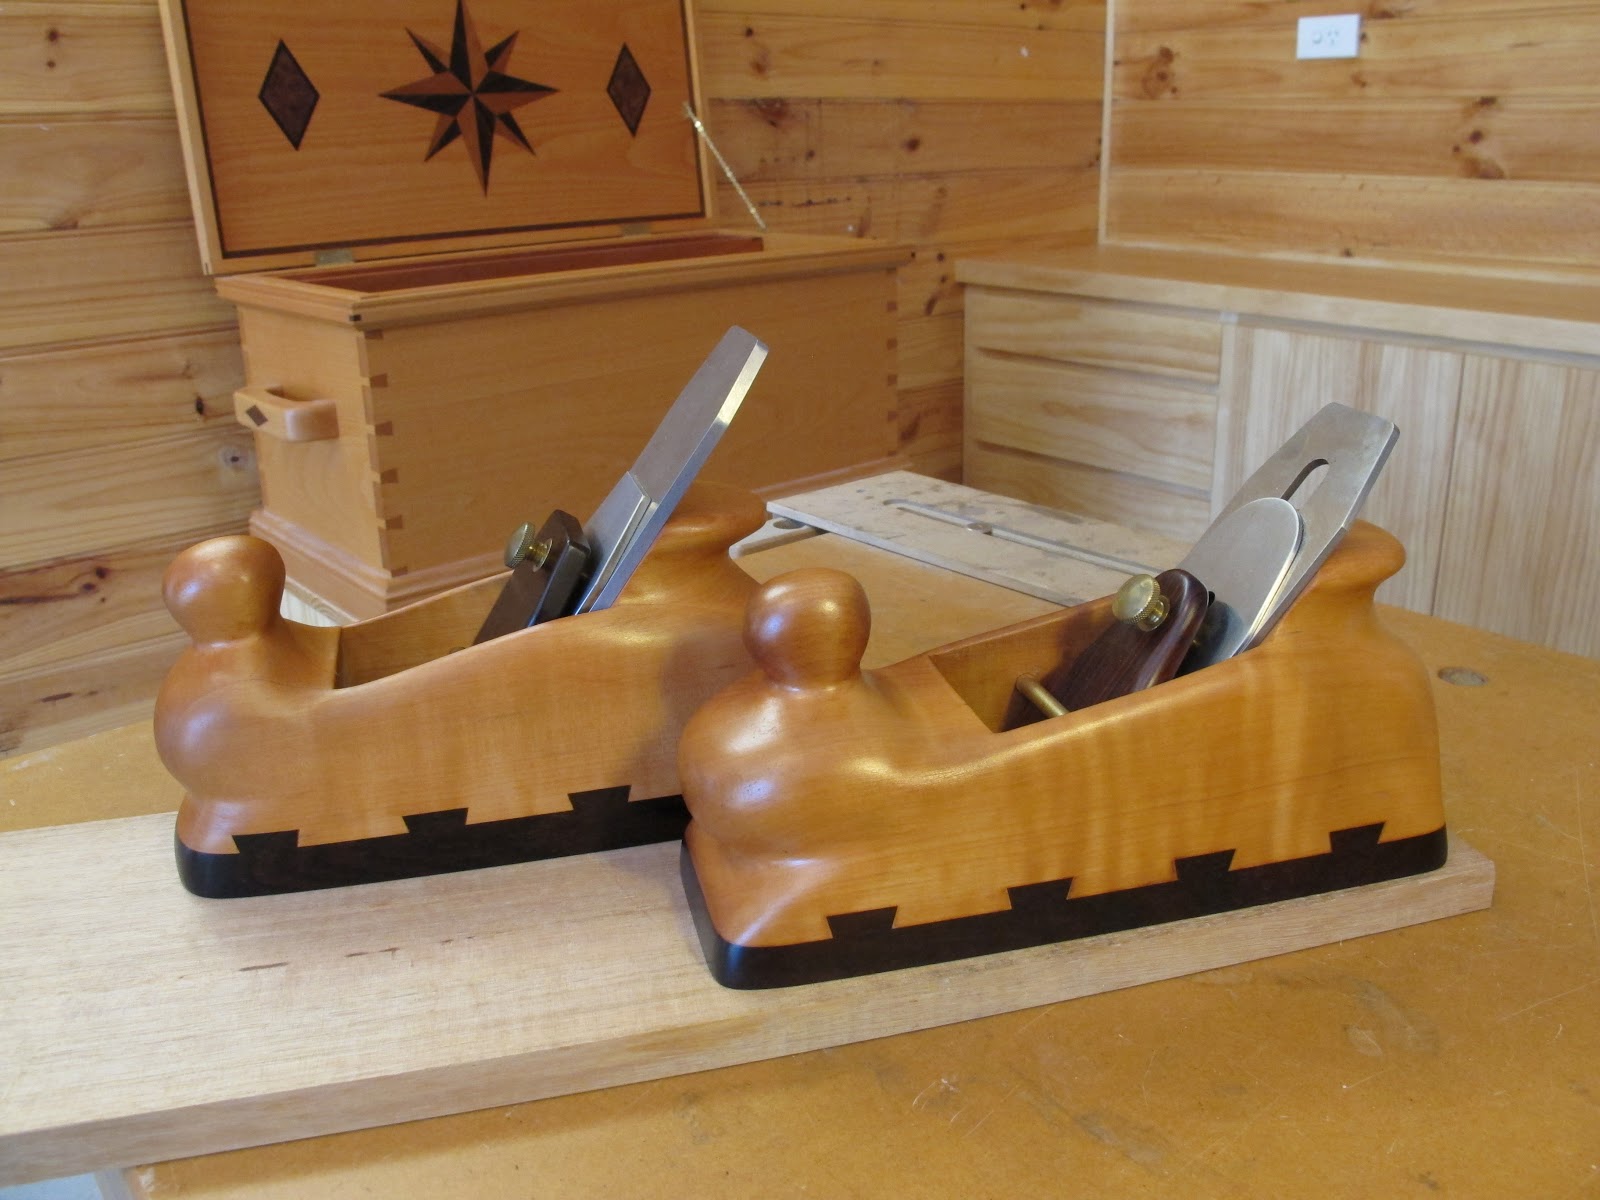
As I began to gain more woodworking experience and try out different styles of planes. I realised that the shape of my earlier Smoothers was not really that comfortable. Then I made a couple of these Smoothing planes.

Pearwood and Cocobolo

The shape is basically a more organic version of the ECE Primus wooden Smoothing planes. The body is Pearwood and the sole is Cocobolo. Another difference in this style plane was incorporating a knurled screw in the lever cap as opposed to a wedge. This makes adjusting the plane much easier. When you tap the body of the plane to adjust the depth of cut, only the blade moves, not the blade and wedge.

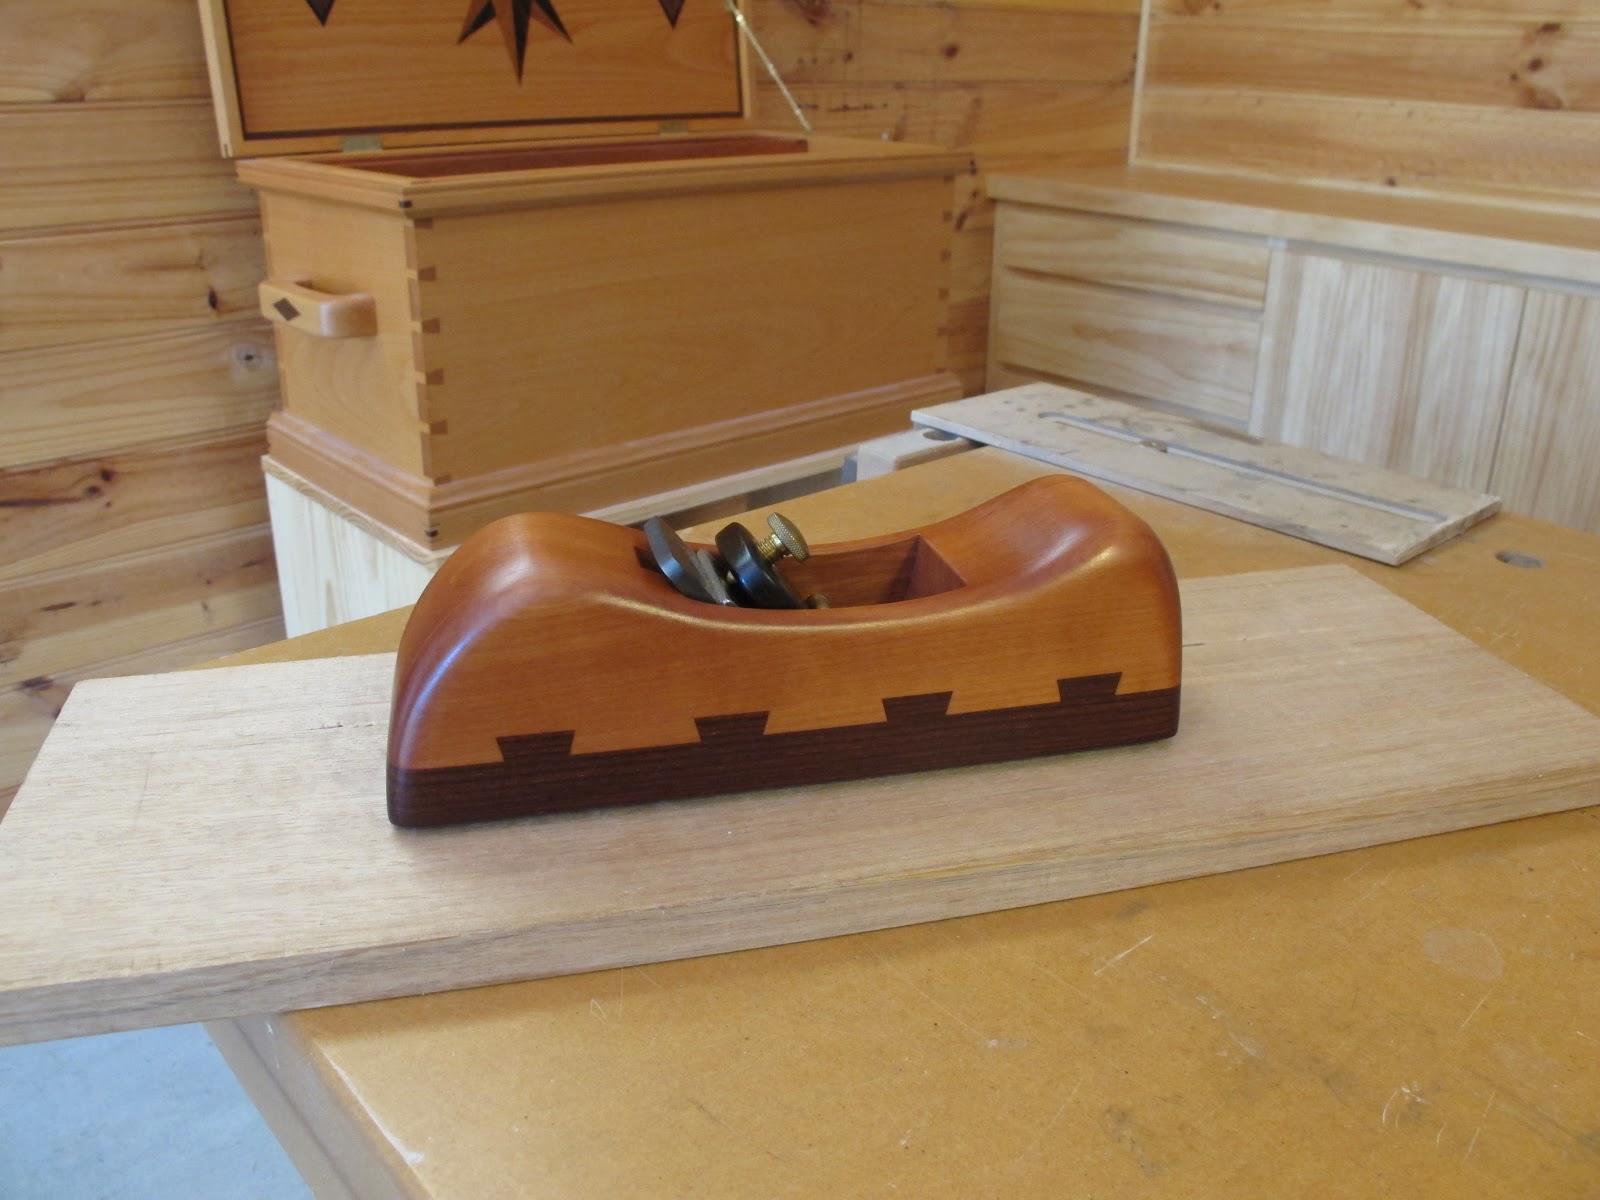
In my next blog I will talk about how I progressed to making the infill planes that you can see in my gallery. Here are a few more pictures of some of my wooden planes. The low profile, radius bottom plane was made from a beautiful piece of heartwood Pear and Cocobolo.

Pearwood and Cocobolo

Heartwood Pear and Cocobolo

Heartwood Pear and Cocobolo